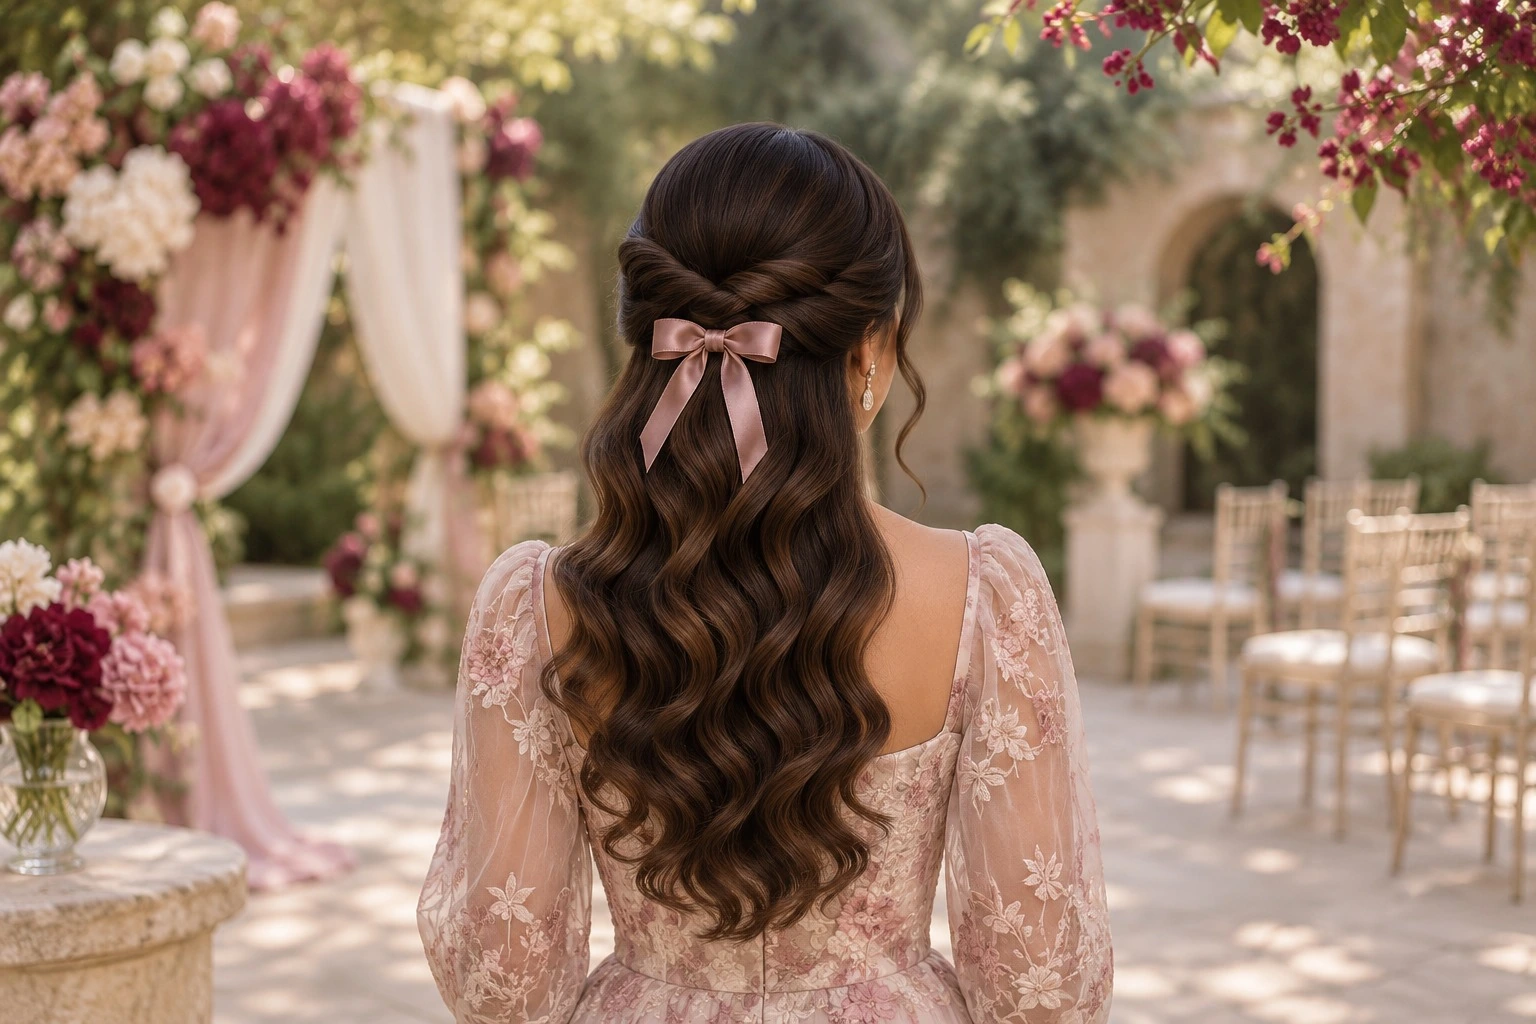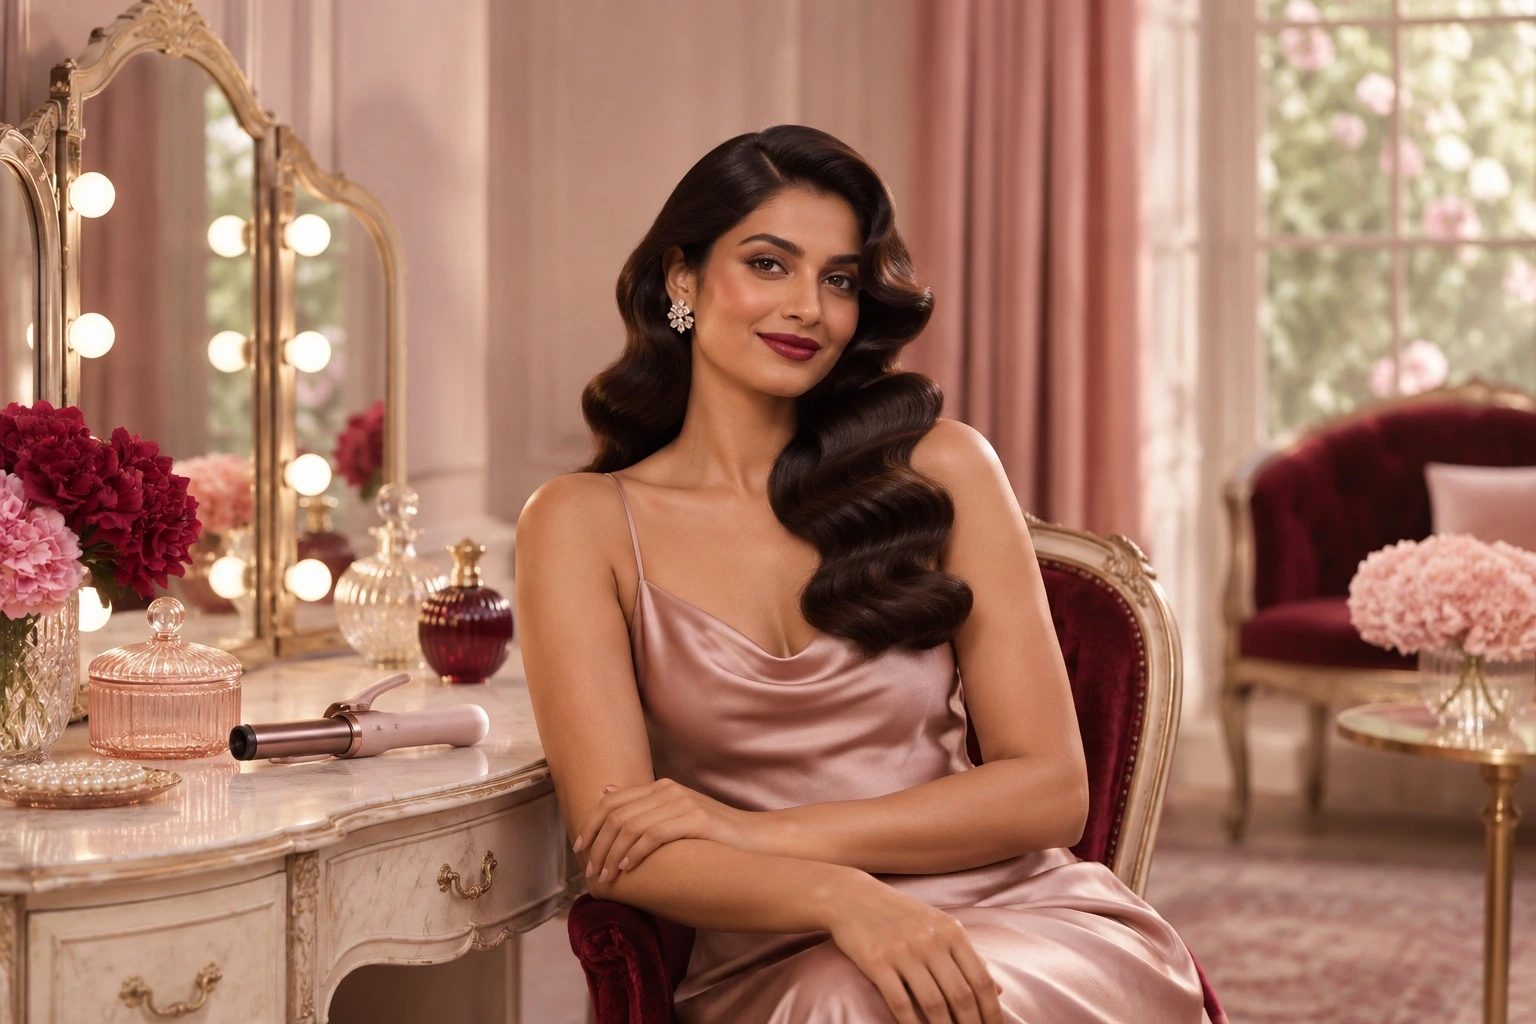
Old Hollywood waves look complicated, but the method is simple: deep side part, every curl turned the same way, and a patient brush-out. Uniform curls are an advantage here — which makes an automatic curler a good fit.
- The one-direction rule
- How to brush curls into waves
- Setting with clips for a sculpted finish
Tutorial card
- Time: 30–40 minutes
- Difficulty: Intermediate
- Best hair length: Shoulder to mid-back
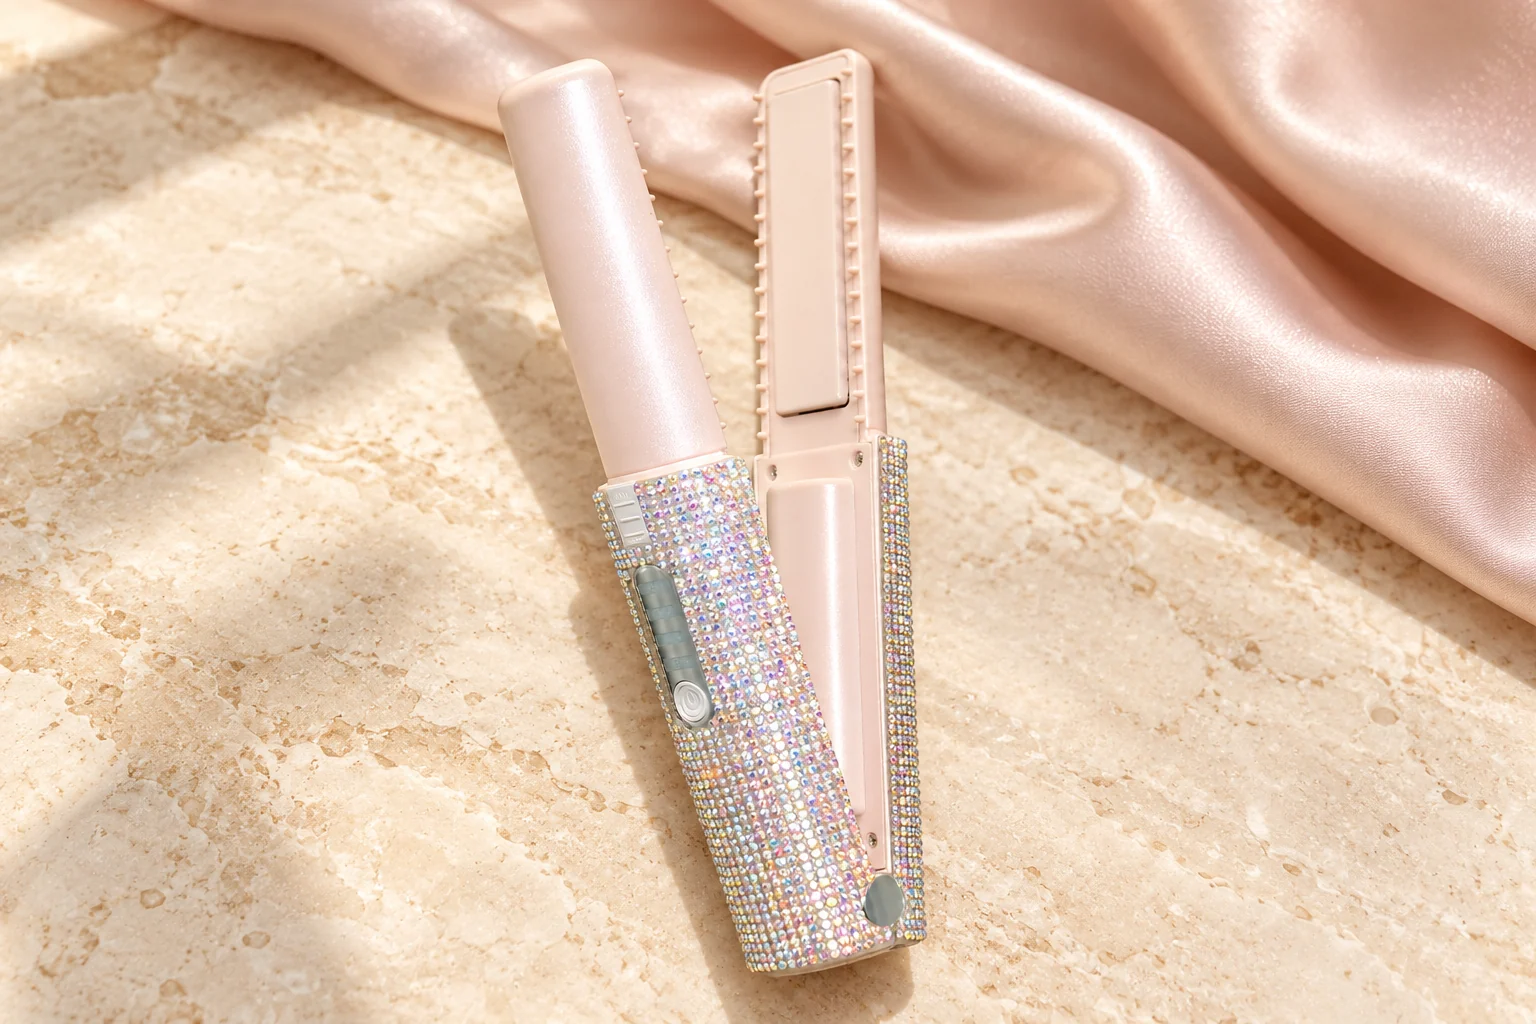
- Tools: cordless automatic curler, Luxe cordless straightener
What makes Hollywood waves different
Unlike modern beachy texture, Hollywood waves are smooth, glossy and connected — curls are brushed together until they form a continuous S-shape. That only works when every curl goes in the same direction.
Give yourself time: this is a look for events, not a rushed Tuesday.
What you need
- The cordless automatic curler
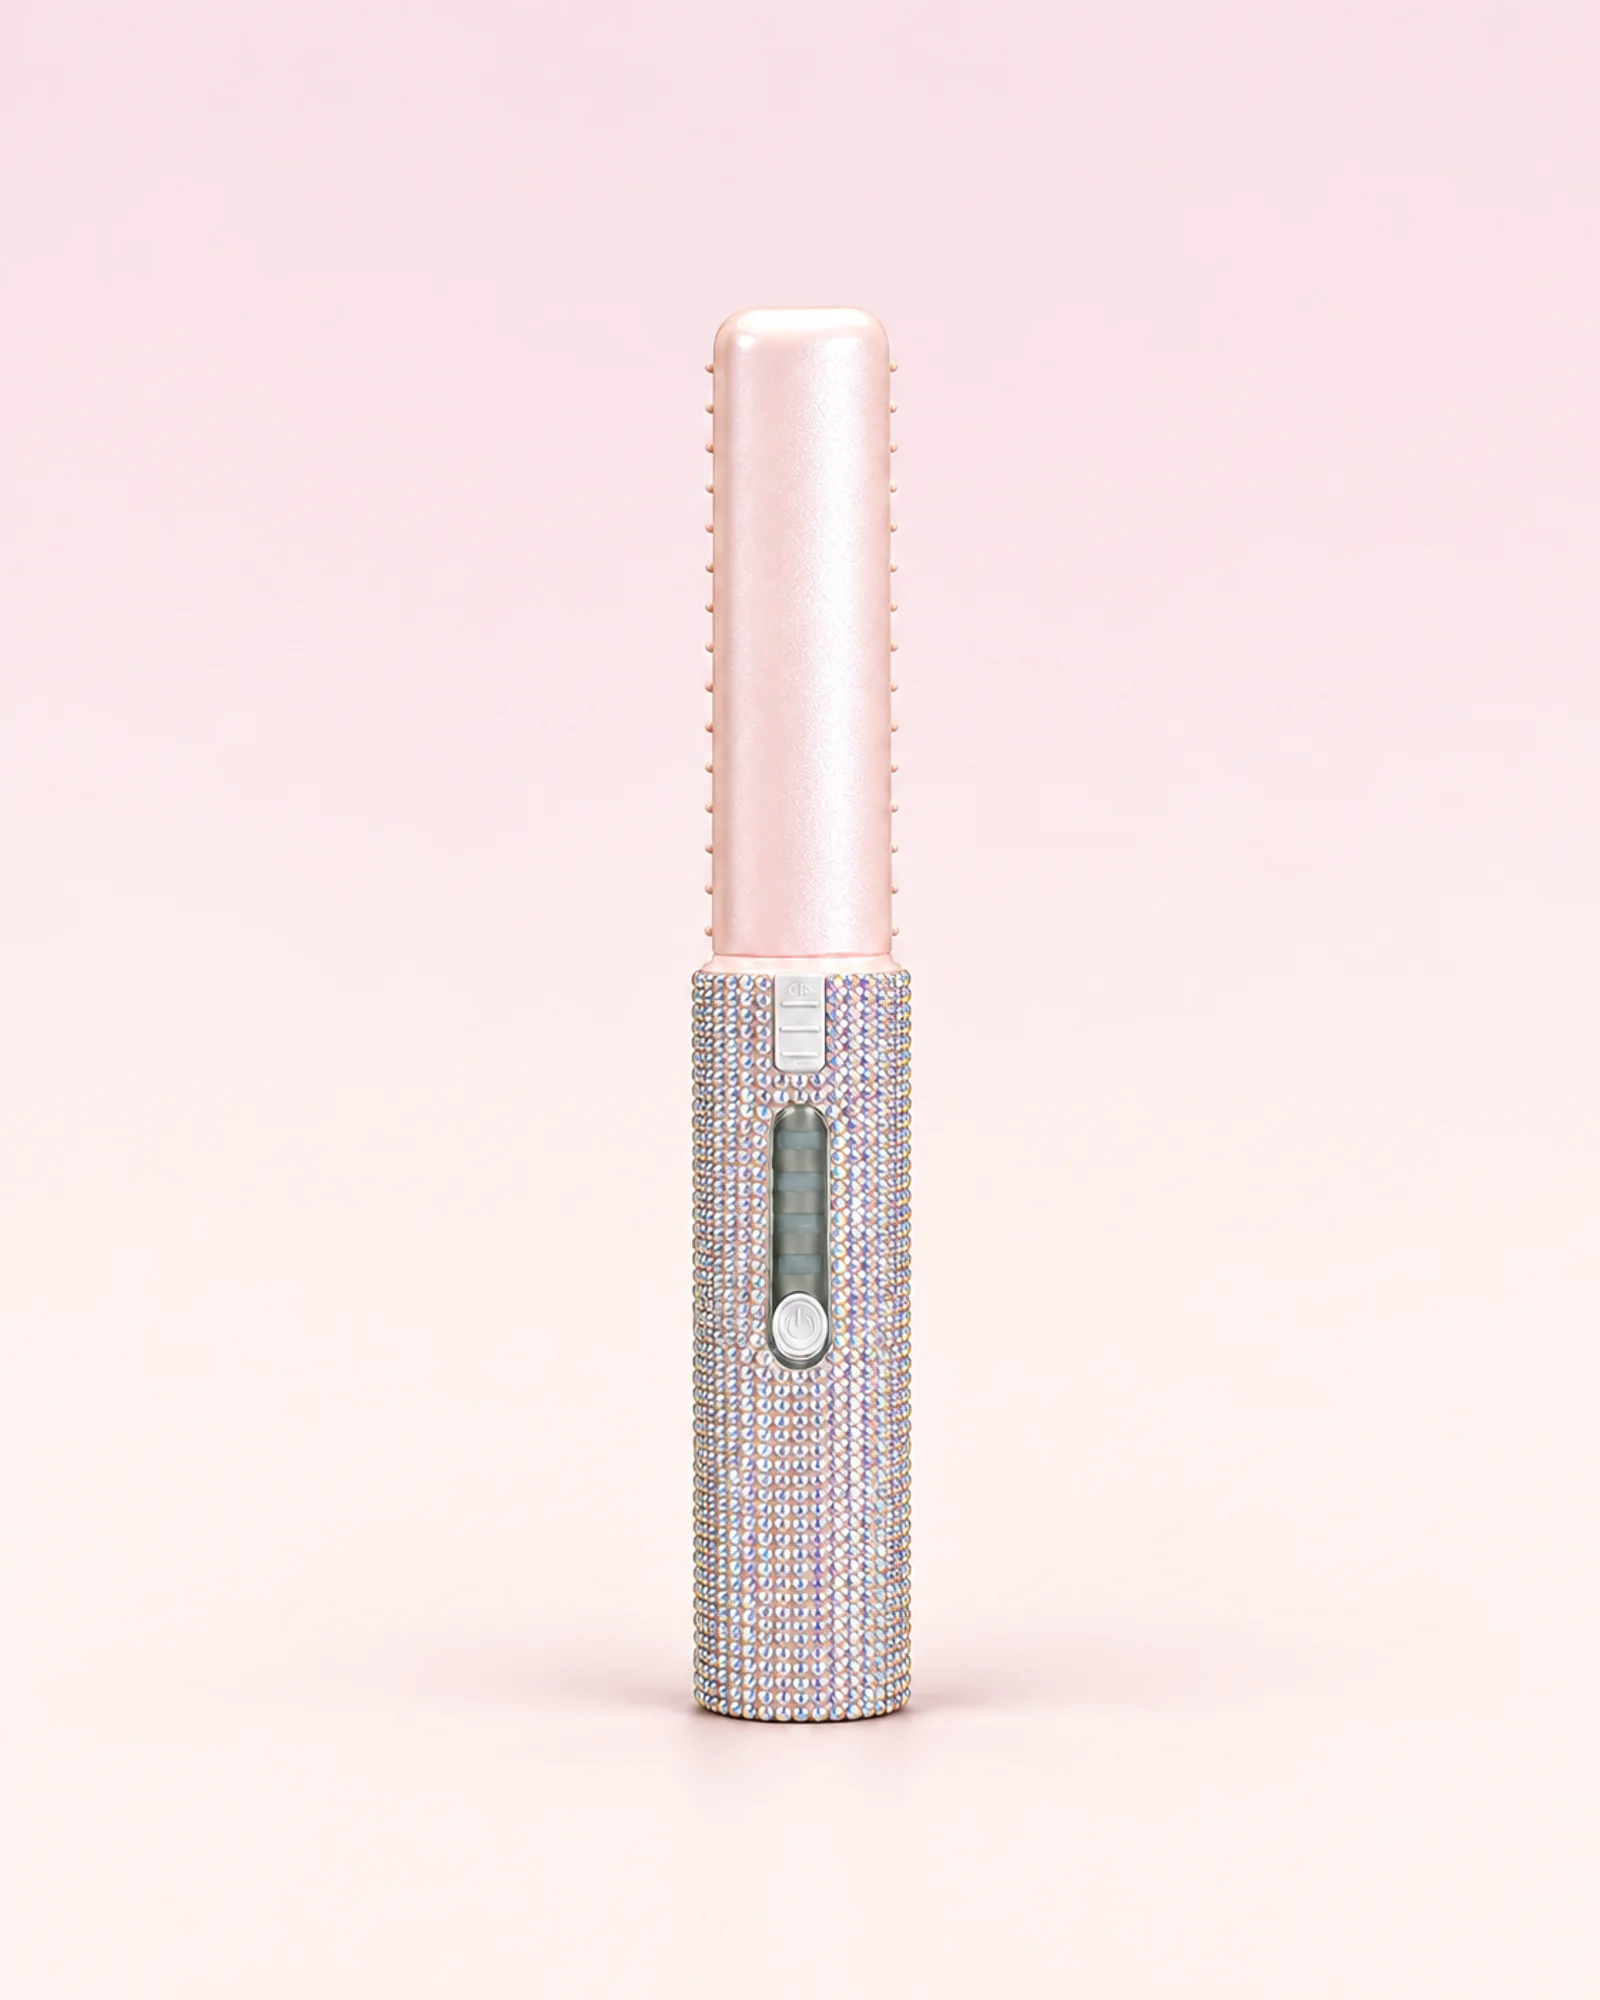
- The Luxe cordless straightener
- Heat protectant
- Sectioning clips
- A wide-tooth comb
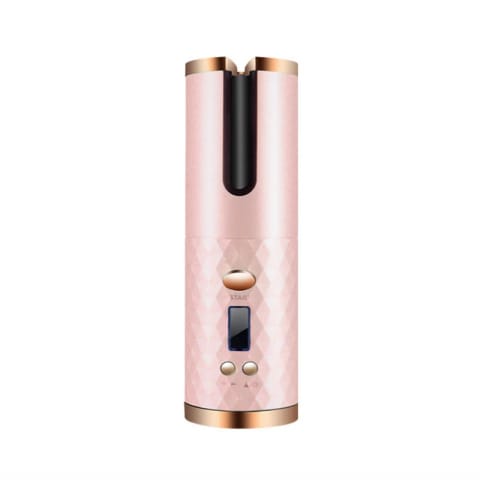
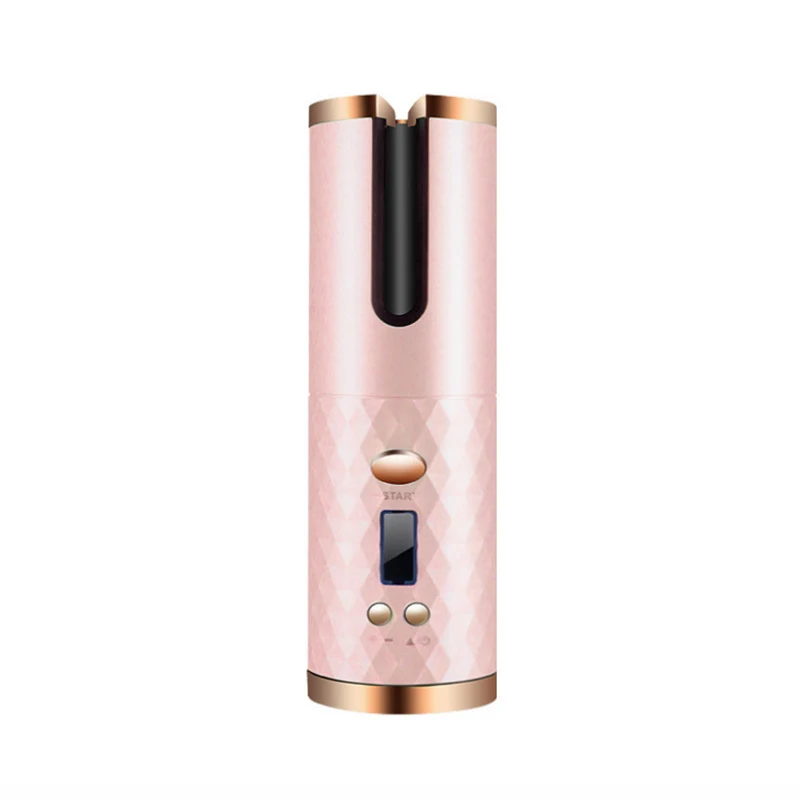 Curlylooks Cordless Automatic CurlerFrom €32.99View product
How to do Old Hollywood waves: step by step
- Create a deep side part. Part above the arch of one eyebrow. Smooth hair is essential — use a smoothing cream on mid-lengths.
- Section horizontally. Work in rows from the nape up, so curls stack neatly.
- Curl everything in one direction. Set the curl direction once and leave it. On the heavy side, curl away from the face; keep the same direction all over for a uniform wave.
- Pin each curl as it releases. Roll the warm curl back up and secure with a clip. Let everything cool completely — at least 10 minutes.
- Release and brush. Remove clips and brush out with a soft bristle or paddle brush. The curls will merge into waves.
- Sculpt the S-shape. Push each wave crest forward with your fingers and set it with a flat sectioning clip for a few minutes.
- Shine and hold. Remove clips, mist with hairspray and add a drop of shine serum to the surface.
- Polish the front. Smooth any flyaways at the parting with the Luxe straightener — hover, don't clamp.
Variations to try
- Tucked side: Pin the light side behind the ear with a decorative clip.
- Low side chignon: Wave the front, gather the back into a low bun.
- Shorter hair: On a bob, do just two rows for a finger-wave effect.
Common mistakes and quick fixes
| Mistake | Fix |
|---|---|
| Waves look like separate curls | Brush more — you need to fully merge the curls |
| Waves are frizzy | Smoothing cream before heat, serum after |
| S-shape won't hold | Pin-cool every curl and use flat clips on the crests |
| Mixed curl directions | Set direction once and keep it all over |
Curlylooks Cordless Automatic Curler
€32.99
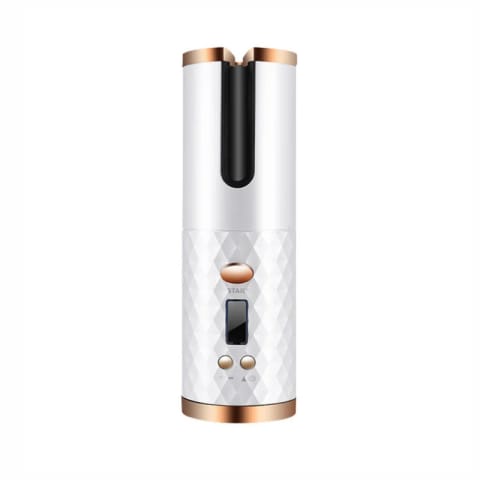
Blush pinkIvory whiteCharcoal blackAdjustable curl direction
Ceramic-coated chamber, adjustable temperature and curl direction, USB rechargeable — and it wraps the hair for you.
Uniform, same-direction curls are the foundation of a Hollywood wave — that's exactly what an automatic curler produces.
✦ Pairs well with: Paddle brush · Flat sectioning clips · Shine serum · The Luxe straightener for the parting
Best for: Weddings, galas, black-tie events, photoshoots
Three ways to start
Get the kit for Old Hollywood waves
Just this look
The cordless automatic curler is all you need for Old Hollywood waves.
Curls and polish
Curl, then smooth the ends and front pieces — the Curl & Luxe bundle puts both tools together.
Every look in this series
The Complete Collection covers all our tutorials: the curler plus both cordless straighteners.
Frequently asked questions
Why do my Hollywood waves look like curls?
They haven't been brushed out enough, or curls went in different directions. Brush until they connect into a wave.
Can I do Hollywood waves on short hair?
Yes — on chin-length to shoulder-length hair, work in fewer rows for a finger-wave look.
How long do Hollywood waves last?
With pin-cooling and hairspray, they typically hold through an event. Bring a straightener to polish the front.
Try it with cordless tools
Cordless, USB-rechargeable curler and straighteners — style anywhere, no socket needed.
Shop all styling tools →See the bundles →Keep reading
Safety note: heat tools get hot. Always follow the operating and safety instructions supplied with your device, use on dry hair only, keep heated parts away from skin and scalp, switch off after use and store out of reach of children.