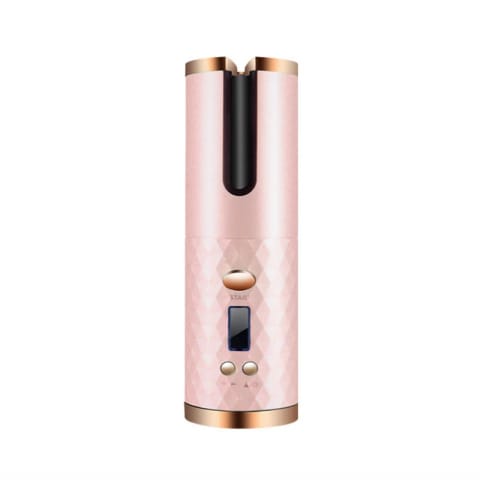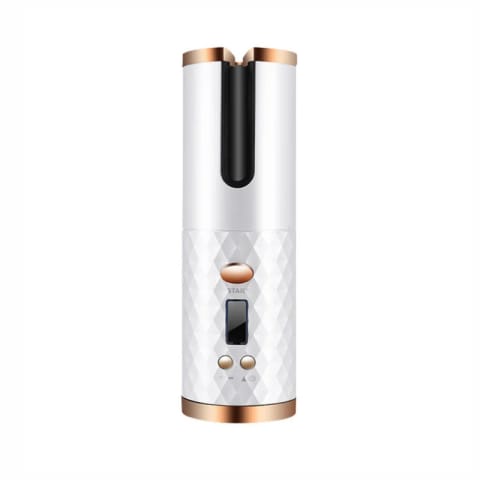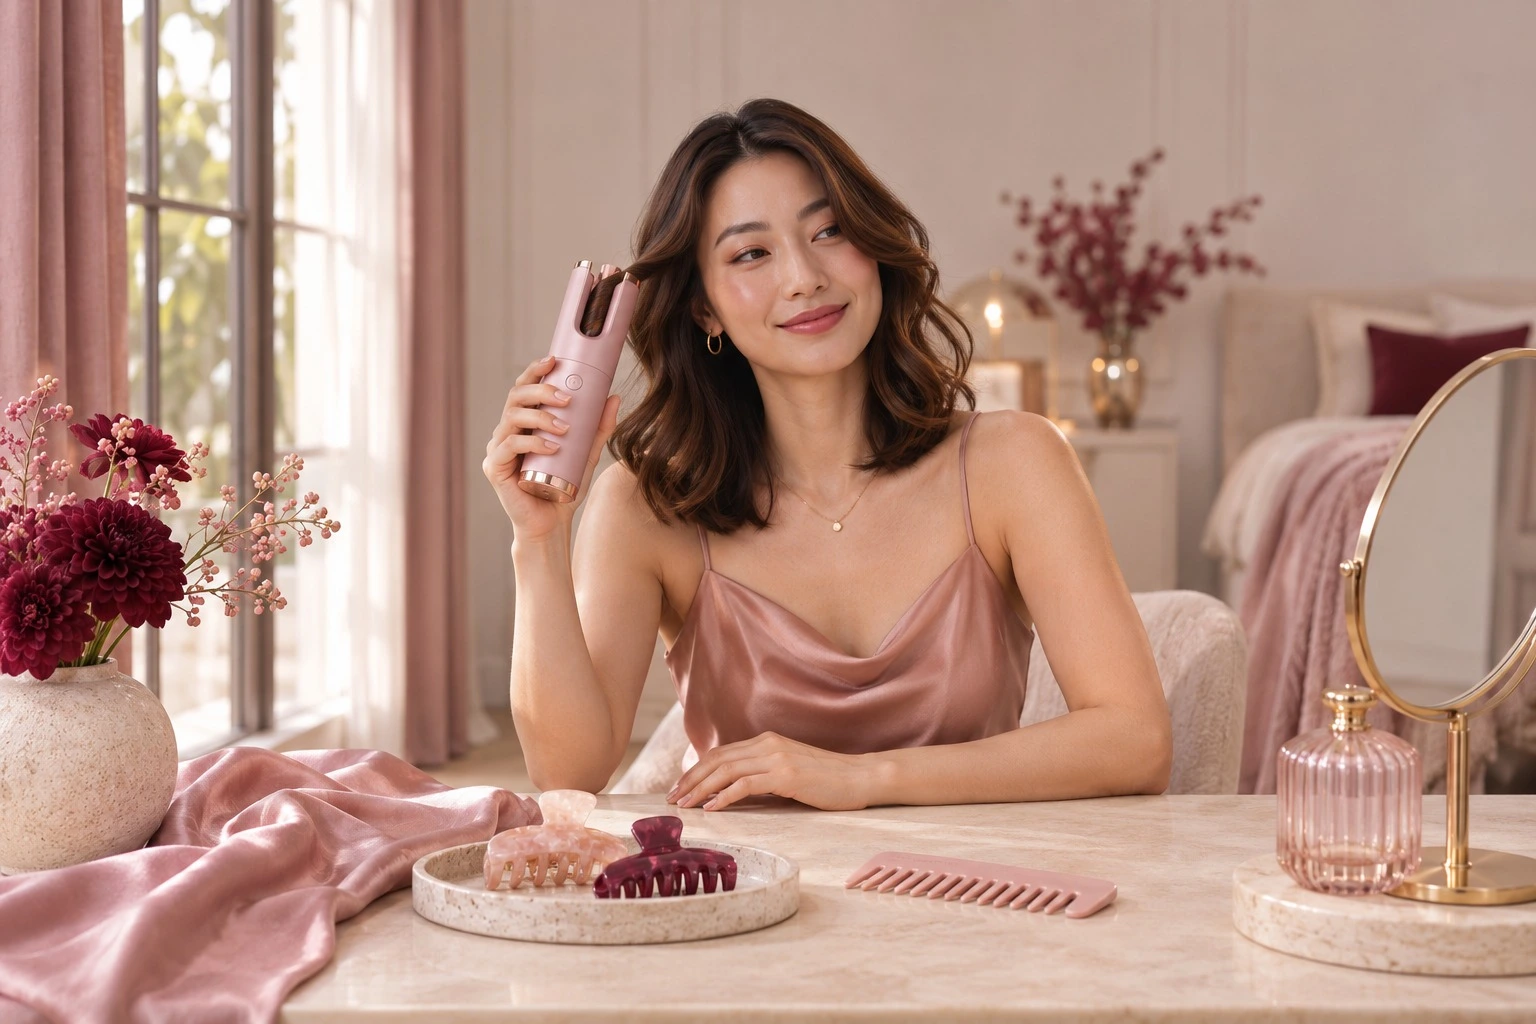
An automatic curler does the wrapping for you: you feed a section of hair into the chamber, it draws the hair in, heats it and releases a curl. The technique is simple once you know three things — how much hair to feed, which way to hold it, and when to let go.
- Written for complete beginners
- Covers sectioning, curl direction and tangle prevention
- Includes a printable 7-step checklist
At a glance
- Start with dry, detangled hair and a heat protectant.
- Feed small sections — smaller than you think.
- Keep the chamber away from your scalp.
- Let curls cool fully before you touch them.
Why automatic curlers feel different from a curling iron
With a classic curling iron, your hands do the work: you wrap the hair around a barrel, hold it, and unwind it. An automatic curler moves that wrapping step inside the tool. That makes it easier for people who find wrapping awkward — especially at the back of the head — but it also means the tool only works well when the section is the right size and enters the chamber cleanly.
Most of the frustration people describe with automatic curlers (snagging, uneven curls, curls that drop) comes from section size and preparation, not from the tool. Get those right and the rest follows.
What you need before you start
- Your curler, fully charged — a cordless tool behaves most consistently with a full battery.
- A wide-tooth comb or detangling brush.
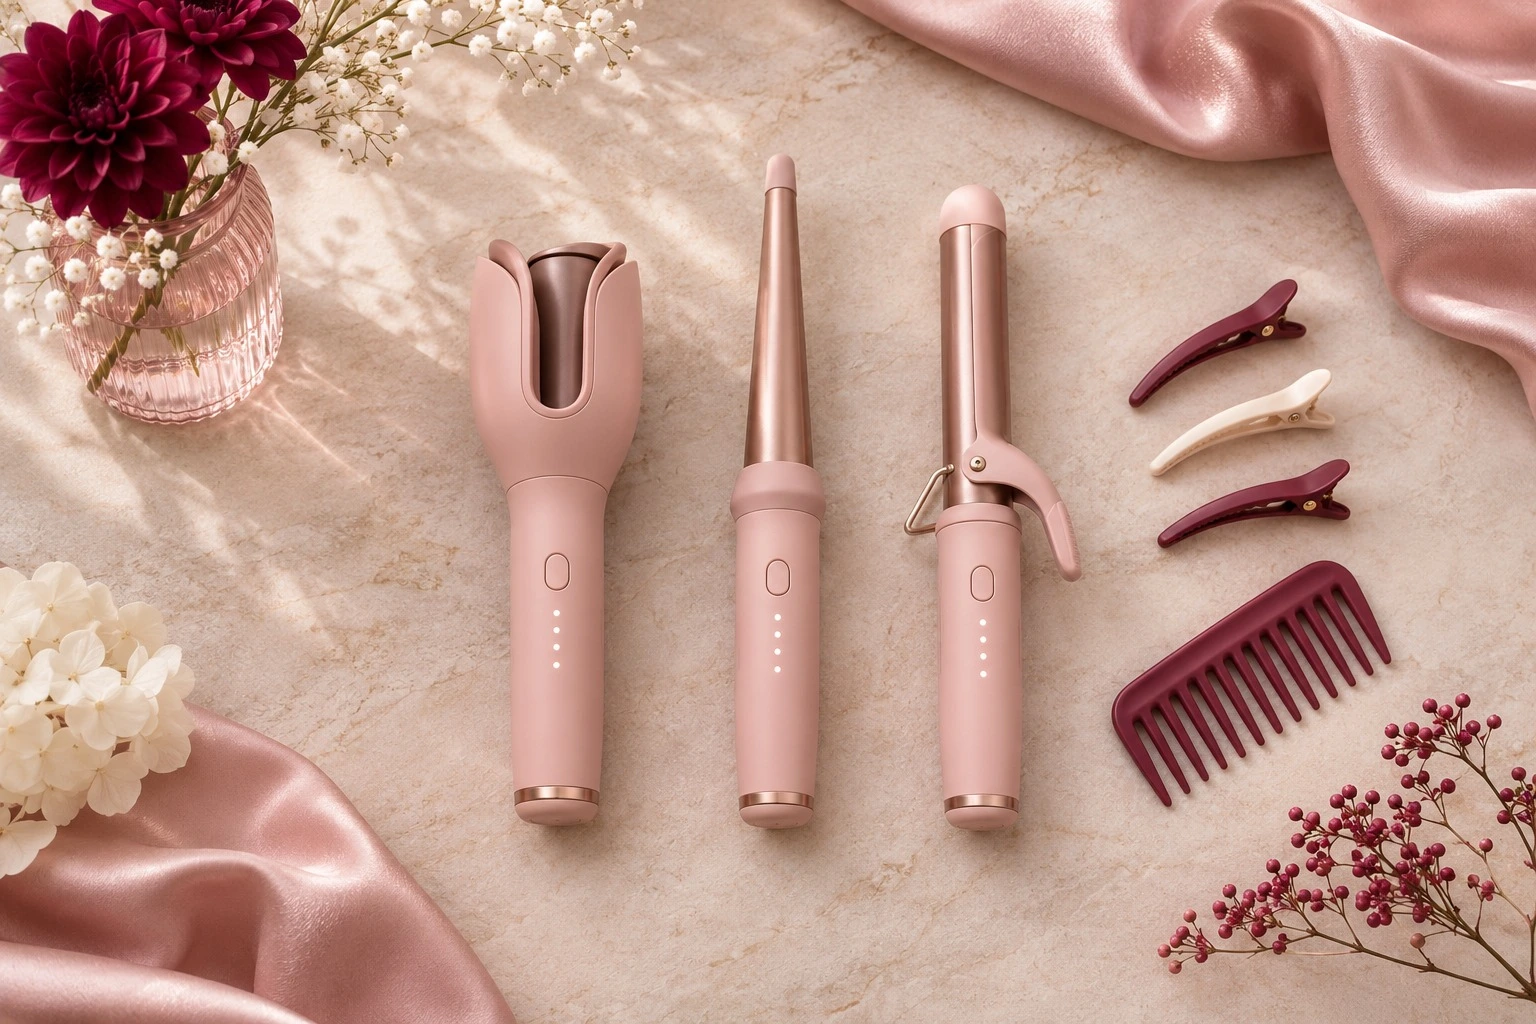
- Two to four sectioning clips.
- A heat protectant suited to your hair type (see our heat protection guide).
- Optional: a light-hold hairspray for finishing.
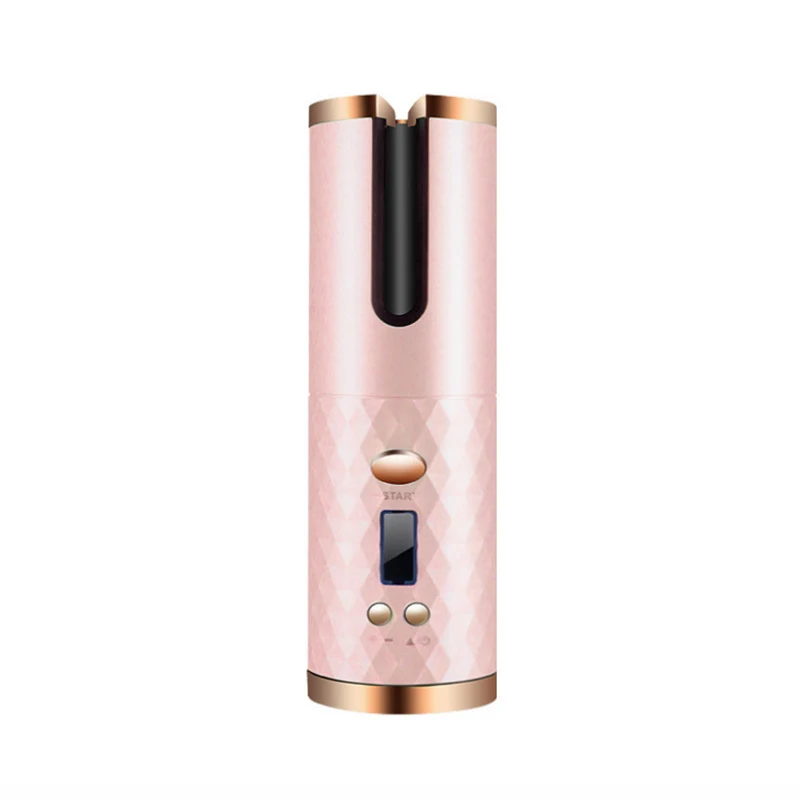 Curlylooks Cordless Automatic CurlerFrom €32.99View product
Step by step: your first automatic curls
- 1. Prep dry, detangled hair. Brush out every knot. Knots are the number one reason hair catches inside an automatic curler. Apply heat protectant and let it dry.
- 2. Section in layers. Clip the top half of your hair up. You will work from the bottom layer upwards, so each curl sits on top of the previous one.
- 3. Choose temperature and curl direction. Use the lowest setting that gives you the result you want, especially on fine or lightened hair. Pick one direction for each side of your face — curls turned away from the face tend to look more open and polished.
- 4. Take a small section. Aim for a section roughly two to three fingers wide. If you can see the tool struggling or the curl looks loose, your section is too big.
- 5. Feed the hair in correctly. Hold the section taut, position the curler a few centimetres from your scalp — never against it — and let the chamber draw the hair in, following the orientation shown in your supplied guide.
- 6. Release and cool. Release as directed, then let the curl drop into your palm or hang freely. Don't brush or tug it while it is warm; the curl is set as it cools.
- 7. Finish. Once every curl has cooled, separate gently with your fingers for soft waves, or leave them defined. Mist lightly with hairspray if you want extra hold. Switch the device off.
How much hair should you put in an automatic curler?
Less than you think. Large sections are the most common beginner mistake: the chamber can only heat and shape so much hair at once, so oversized sections come out looser and are more likely to catch. Smaller sections take a few extra minutes but give tighter, longer-lasting curls.
As a rule of thumb, if a section feels thick between your fingers, split it in two.
| Hair type | Section size | Setting | Tip |
|---|---|---|---|
| Fine or thin | Small (2 fingers) | Lowest effective | Let curls cool completely, then add a light spray |
| Medium | Small to medium | Low to medium | Alternate curl direction for a lived-in finish |
| Thick or coarse | Small (split thick sections) | Medium | Work in more layers rather than bigger sections |
| Colour-treated or lightened | Small | Lowest effective | Always use heat protectant; avoid repeated passes |
How to avoid tangles
- Detangle thoroughly before every session.
- Keep sections small and tidy — no stray strands at the edges.
- Hold the section taut and straight as it enters the chamber.
- Don't feed hair in at an angle or twist the tool while it is working.
- If hair catches, switch the device off first, then gently ease the hair out following your supplied guide. Don't pull.
Making your curls last longer
Curl longevity is mostly about cooling and hold. Let each curl cool before touching it, avoid brushing them out while warm, and keep a light-hold spray for the end. For humid days and longer events, we cover the full method in how to make curls last all day.
Three ways to start
Find the routine that fits your morning
If you have ten minutes
Curl only the front sections and the top layer. Most of what people see is the hair around your face, and it is the quickest way to look finished. Start with the cordless automatic curler.
If you want curls and sleek ends
Pair the curler with the classic cordless straightener to smooth your fringe or flyaways after curling. The Curl & Polish bundle puts both together.
If you're styling for two
The curler comes in Duo and Trio packs — useful for a sister, a flatmate or a bridesmaid group getting ready together.
Frequently asked questions
Can beginners use an automatic curler?
Yes. Automatic curlers are often easier than traditional curling irons for beginners, because the tool wraps the hair for you. The main skill to learn is using small, detangled sections.
Why is my automatic curler tangling my hair?
Usually the section is too large, the hair wasn't fully detangled, or the hair entered the chamber at an angle. Switch off the device before freeing any caught hair.
Can I use an automatic curler on wet or damp hair?
No. Use heat tools on completely dry hair only, and follow your device's supplied safety instructions.
Which curl direction should I choose?
Curls turned away from the face look more open; alternating directions gives a looser, more natural texture.
Ready for your first curls?
The Curlylooks cordless automatic curler is USB-rechargeable, with adjustable temperature and curl direction, in blush pink, ivory white and charcoal black.
Shop all styling tools →See the bundles →Keep reading
Safety note: heat tools get hot. Always follow the operating and safety instructions supplied with your device, use on dry hair only, keep heated parts away from skin and scalp, switch off after use and store out of reach of children.